
Install via Softaculous
In CPanel, go to Software and click Softaculous. This will bring you to the WordPress Install Page.
Here you’ll see the following:

Click on the Install button.
Then you’ll see the Installation screen. Fill in the details in the Software Setup Screen.

Choose your domain (in this case it is a subdomain set up in CPanel prior to the installation. Don’t click the Quick Install button.
Below that are the 4 sections to fill out:

Site Settings
Enter the Site Name and Site Description. Don’t check the Multisite or Disable WordPress Cron options.
Admin Account
Enter the Admin Username and Admin Password. If using a simple password, it will warn you.
Choose Language
Select English.
Select Plugins
Don’t check any of the plugins for installation.
Advanced Options

Enter a meaningful, but short Database Name and Table Prefix.
Don’t check any of the boxes on the left and only select Do Not Auto Upgrade on the right.
Skip the last section to select a Theme. This will be done later. We’ll let the installation use the default theme (right now, the Twenty Twenty-Four theme.
Click Install on the bottom of the screen and you will see:

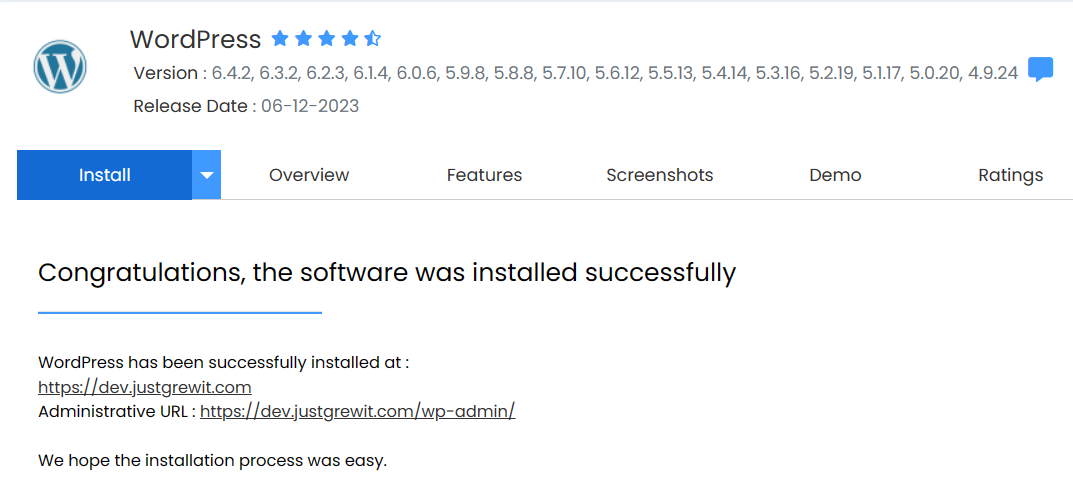
When the installation is complete, you’ll see a screen that says:
Congratulations, the software was installed successfully
The site is now installed.
Leave a Reply