
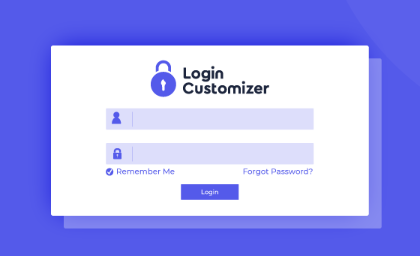
Creating a custom login page is easy. Just download the Custom Login Page plugin and follow the instructions.
Set Up The Plugin
Go to the dashboard and click Login Customizer. Then click Settings which will bring you to the Settings page.

Next to Login Order, select the option for Both Username and email Address to have the login form capable of using either the username or the email address to login.
Click Save Changes.
Customize the Login Page
Click Login Customizer from the Dashboard. Then click Customize beneath it.
You will then see the Customize page.

If you click Templates, you’ll see 3 rather bland templates. If you like those, then you probably would not have downloaded this plugin.
Click Background to select a background color or a background image. I’m going to select white for the background color and then upload a png file with a gradient color to transparency for the background image.

In the Logo section, upload the logo and set the size and padding.
In the remaining sections, style the rest of the login page.
Don’t forget to click Publish.
Leave a Reply